 Underwater 3D Animation for Divers
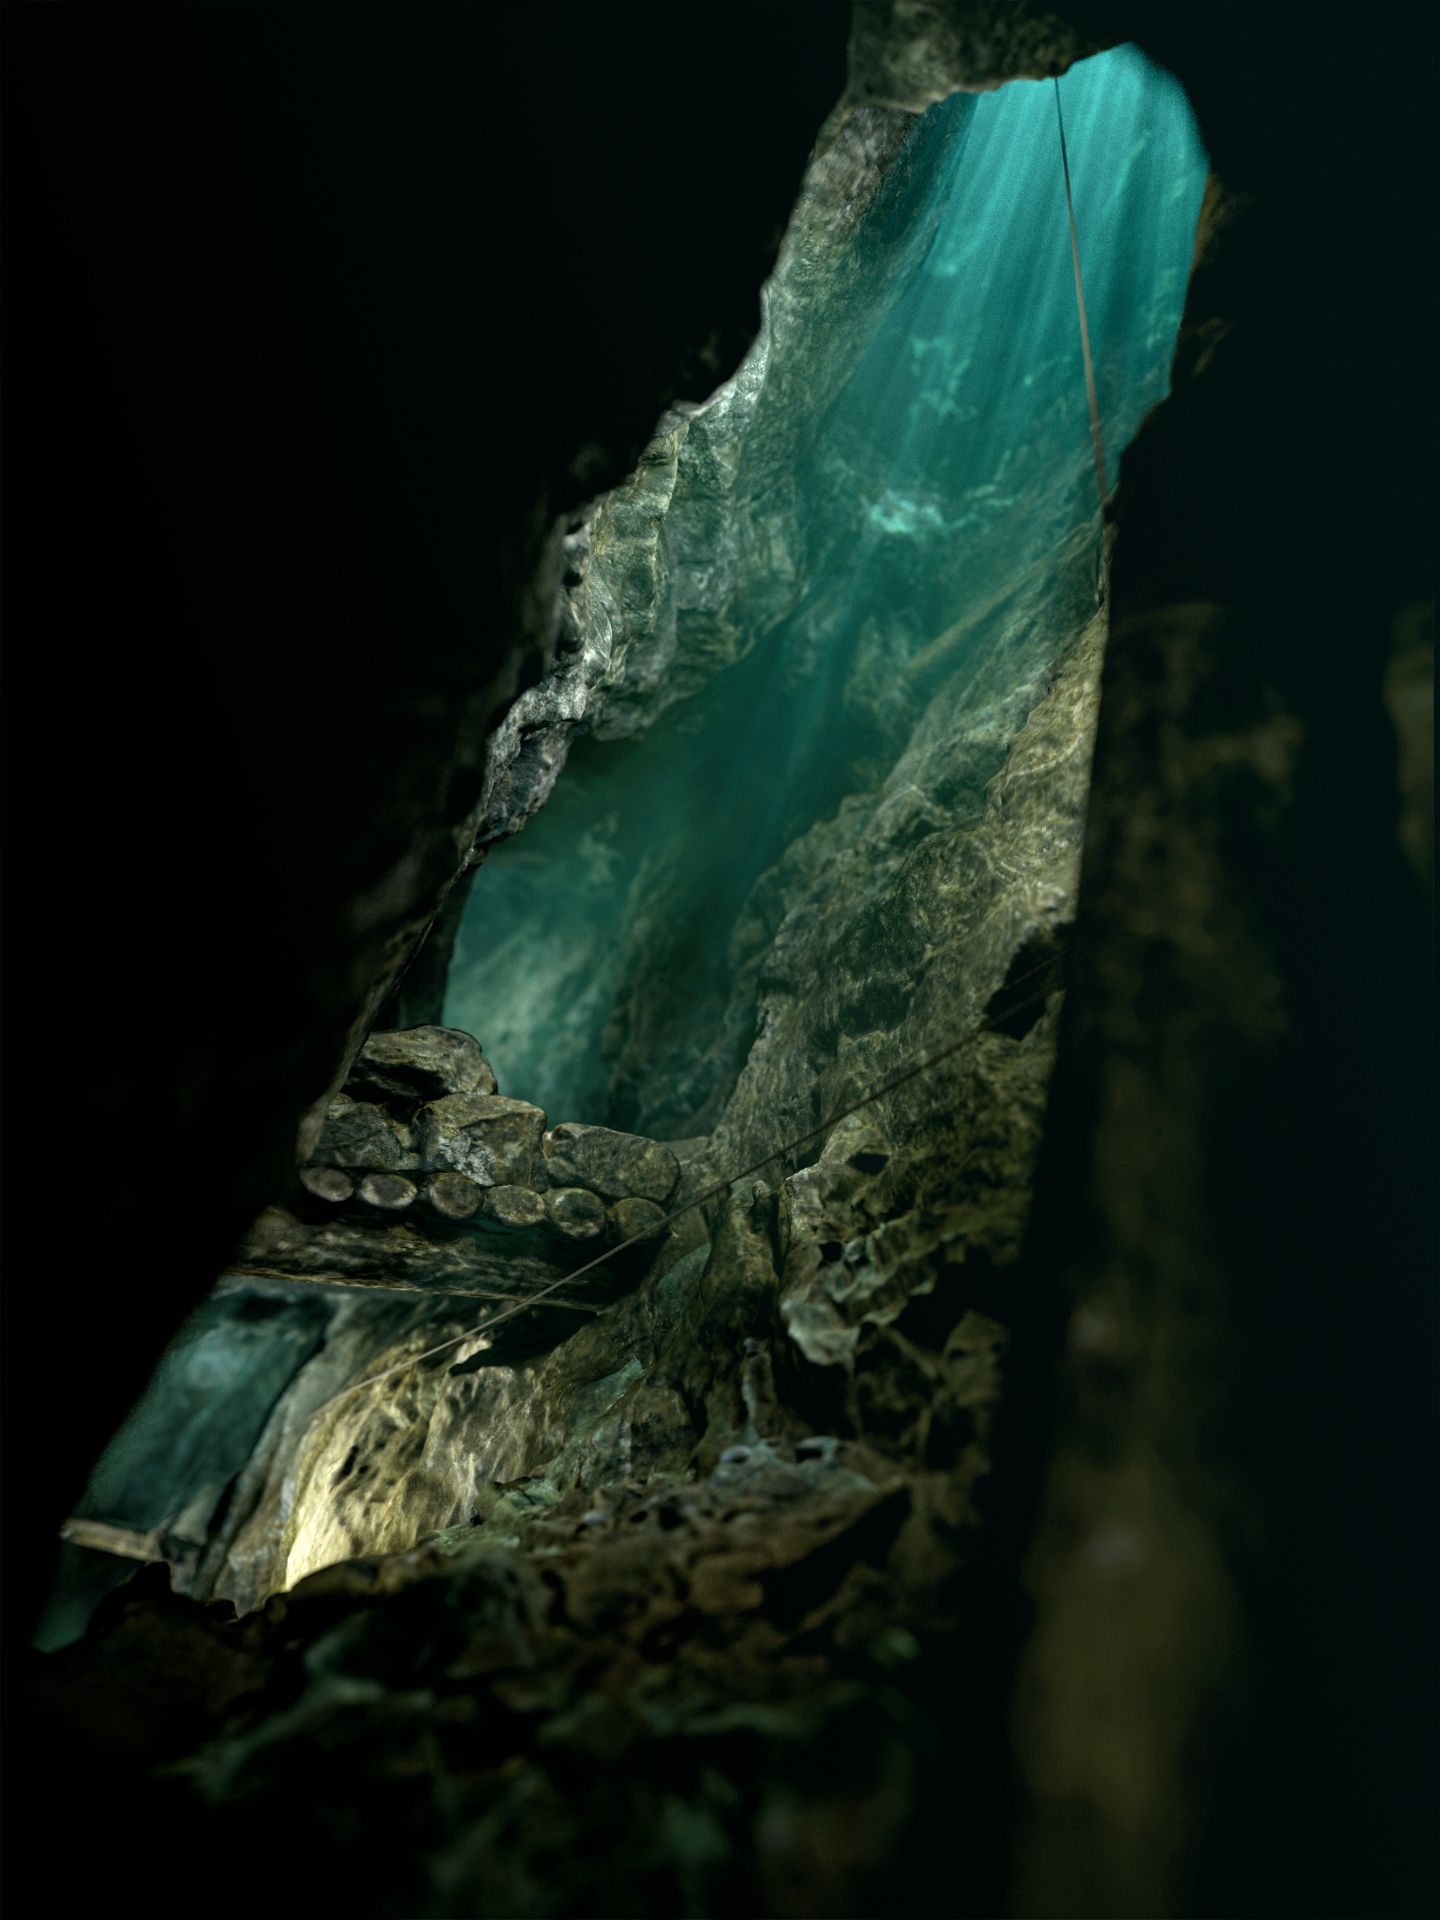
You surfaced with a scan. Now make it cinematic.
If you want to learn how to capture underwater photogrammetry, this page points you to the people who teach that. If you already have the model and want renders, cave fly-throughs and a finished dive video, you are in the right place.
Which course are you actually looking for?
Two different skills hide behind one search phrase.
Capture. Planning the dive, building the rig, keeping the overlap, getting a clean model out of Metashape or RealityCapture. This is what a photogrammetry course teaches, and it is what you need first. I learned it the slow way: about five years from recreational diver to full cave, and another three before my first mine scanning project. If you are at that stage, the courses below are the right ones. Take one, come back later.
After the scan. You have the model. Now it sits in a viewer as a grey mesh, or as a point cloud nobody outside diving will look at for more than ten seconds. Everyone tells you to learn Blender. Nobody has three years. U3DA is the course for this exact moment: my own workflows, presets and scripts from real cave and wreck projects, so a diver with no 3D background gets a finished animation, not a tutorial about donuts.
If you need to learn capture first
These teach the dive, the rig and the reconstruction. U3DA starts where they finish.
GUE Photogrammetry Diver
Four days, three dives, 32 hours: imaging equipment and lights, in-water teamwork and workflow, setting up processing. The reference capture course for technical divers.
SEAmagination
Underwater photogrammetry courses in Poland and online, capture through reconstruction, in Polish and English. I was a student there myself.
Nautical Archaeology Society
Runs an underwater photogrammetry course for maritime sites and artefacts. Sessions open and close through the year, so watch their education pages.
What happens after the scan, in the order the course teaches it
-
1
Scale, materials, first render (Lesson 1, free)
Import the FBX, fix the scale trap every underwater scan falls into (a 30 m wreck came in at 851 m), convert 40 materials with one script, backlight it, frame it like a diver, render full HD. You leave with a still and a build-up animation.
-
2
Light textures, heavy detail (Lesson 2)
Why forty 4K textures beat one huge one, and how a baked normal map makes a 500,000-face mesh look like the 56-million-face original.
-
3
Optimise a 10-million-face cave (Lesson 3)
Decimate to 2 million in Metashape, transfer the 50 textures in minutes instead of re-blending for hours, bake normal maps, and swap the model in Blender without losing a vein on the wall.
-
4
Fly the camera like a diver (Lesson 3)
Walk mode, WASD, strafing. Record the flight live, sample the keyframes, smooth them, ride the focus along the corridor with an empty. The spotlight is parented to the camera, so the light follows you like a torch.
-
5
Post-process in the Compositor (Lesson 4)
Two clicks with the provided node setup put contrast and texture detail back into every frame. The nodes are explained for when you want to know why.
-
6
A minimap that tracks the camera (Lesson 5)
A glowing pin driven by the fly-through camera over a wireframe overview, so viewers always know where they are inside the system.
-
7
Cut the clip, free tools only (Lesson 6)
Fly-through plus minimap in CapCut: picture-in-picture, blurred background, title, music, exported horizontal, vertical and square from one render.
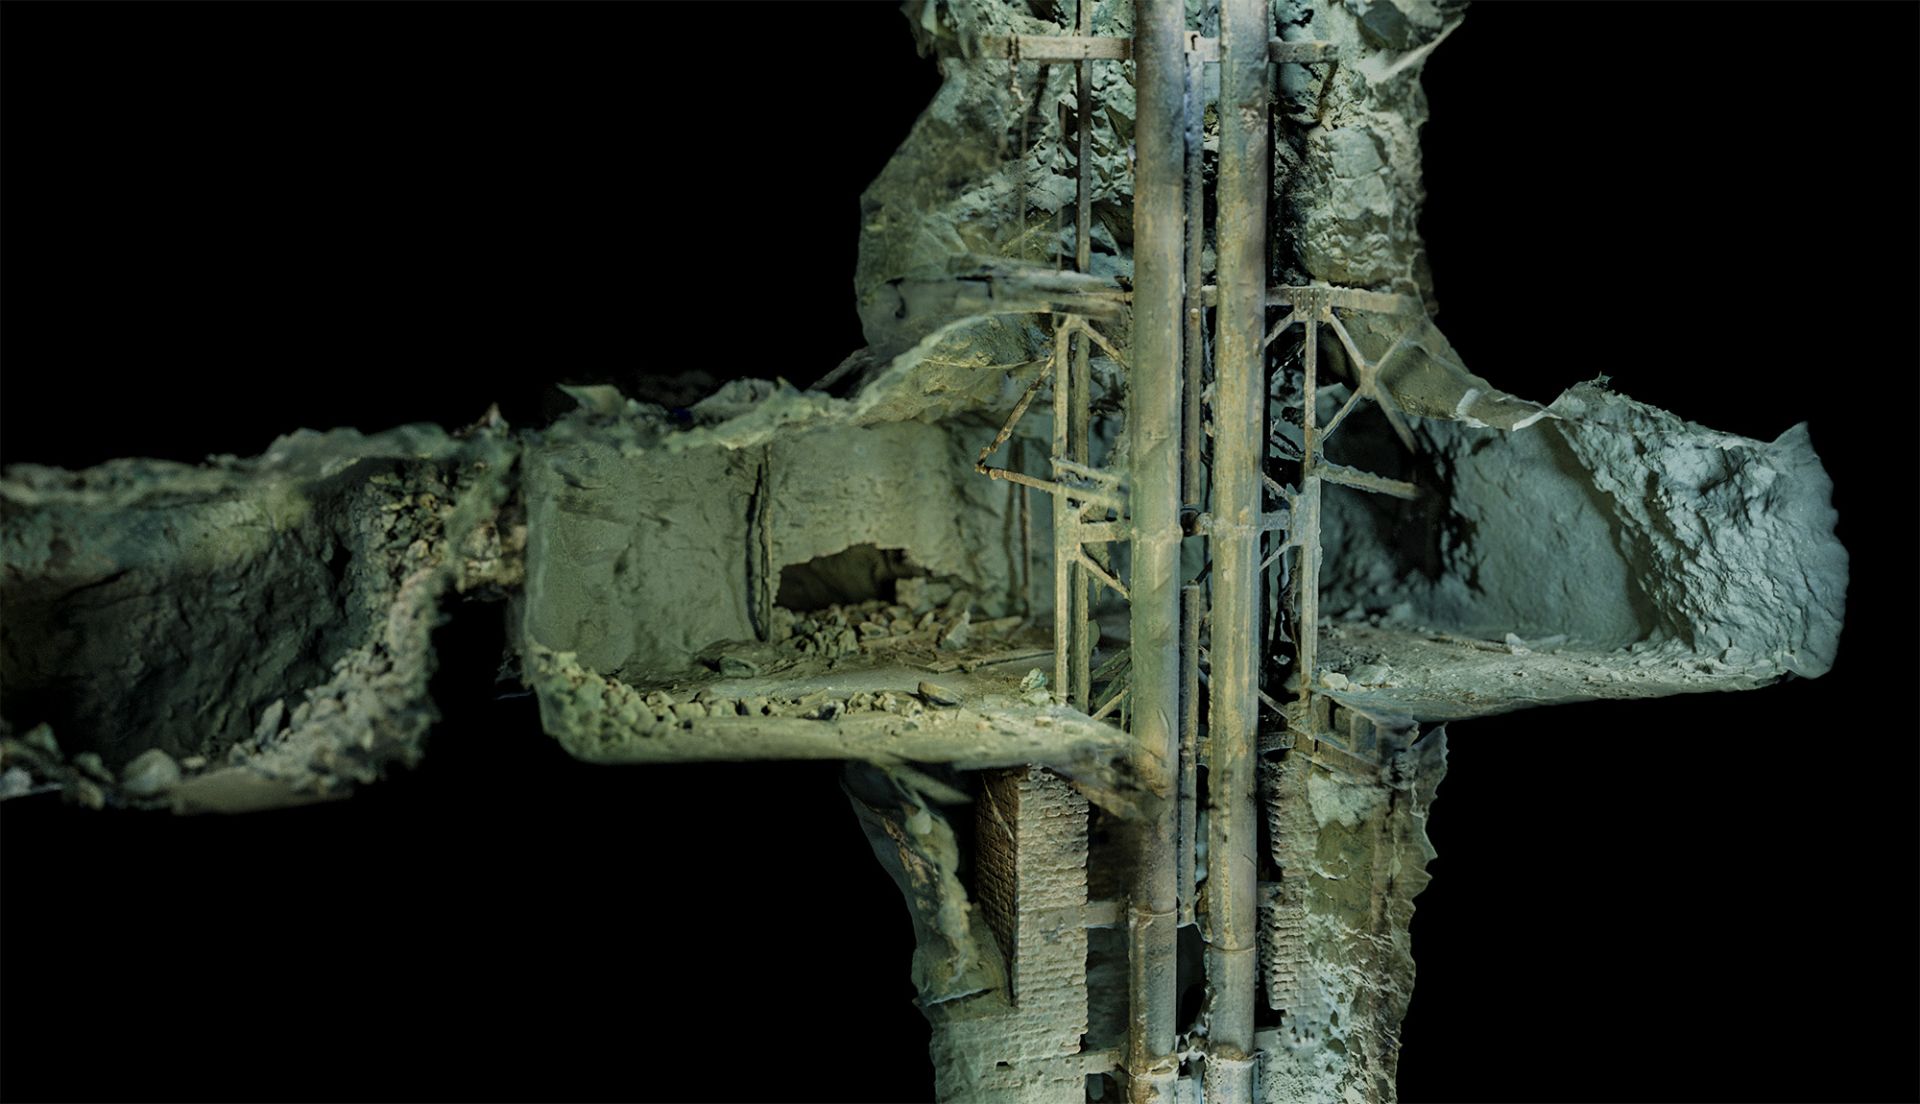
A full-HD still, a build-up, a fly-through with a minimap, and a clip with music
Every lesson ends with a file you can show. Lesson 1 gives you a render and an animation where the wreck assembles itself from wireframe to solid. Lesson 3 gives you a first-person dive through a 300-year-old mine. Lessons 5 and 6 put a map in the corner and cut it into something you can post tonight.
The scans are real: a Baltic shipwreck and the flooded Maria Concordia silver mine, scanned with the Submerged Foundation team. The presets are the ones I use on those projects.
What U3DA is not
So nobody buys the wrong thing:
Not a capture course. No dive planning, no rig building, no overlap rules, no Metashape alignment. Bring a model.
Not Unreal Engine or VR. The course is Blender. Real-time and VR are a different toolchain and a later step.
Not water simulation. No caustics, volumetric fog or particle sediment in Course 1. The underwater look comes from scale, light, contrast and camera, which is what a cave actually needs first.
Not a degree. No certification, no fieldwork, no diving. For that, the universities in Warsaw and Toruń run underwater archaeology programmes.
Blender and CapCut are free. Metashape is used for optimisation in Lessons 2 and 3, and RealityCapture users map the same steps onto their menus.
The questions people ask before they find this page
Is U3DA an underwater photogrammetry course?
No. U3DA starts where a photogrammetry course ends: you bring a reconstructed model, the course turns it into renders, fly-throughs and a finished dive video in Blender. For capture and reconstruction, take GUE Photogrammetry Diver, SEAmagination or the NAS course first.
I already know photogrammetry. What should I learn next: Blender or Unreal?
Blender first. It is free, it opens any FBX with textures, and it covers everything a diver’s scan needs first: scale, materials, lighting, camera, rendering and post. Unreal makes sense later, for real-time or VR walkthroughs, and the optimised model you produce in U3DA is exactly what Unreal wants as input.
Do I need to know Blender before starting?
No. The course assumes zero 3D experience. Every heavy setup arrives prebuilt in the lesson file, and two short setup videos fix keyboard layouts and missing numpads before Lesson 1.
Does it teach retopology, UV unwrapping and texture baking?
It teaches what an underwater scan actually needs: decimation in Metashape, texture transfer, and normal-map baking so a light mesh looks like the heavy original. Hand retopology and manual UV unwrapping are not in Course 1, because a scan of a cave does not benefit from them the way a game character does.
Does it cover underwater rendering effects like caustics, volumetrics and particles?
Not in Course 1. The underwater look in the course comes from a camera-mounted spotlight, backlighting, a darkened blue-tinted world, depth of field and a Compositor contrast pass. That is what makes a flooded corridor read as a flooded corridor. Water simulation is a later, optional layer.
Which software do I need?
Blender (free) and CapCut (free) for everything the course teaches. Metashape appears in Lessons 2 and 3 for decimation, texture transfer and normal maps; RealityCapture does the same and you map the steps onto its menus.
Start with the free first lesson
71 minutes, one Baltic shipwreck, from Metashape export to a full-HD render and a build-up animation. If it works for you, the rest of the course is €199.